
Crafting Your Sanctuary: A Guide to DIY Home Decor Islands
Related Articles: Crafting Your Sanctuary: A Guide to DIY Home Decor Islands
Introduction
In this auspicious occasion, we are delighted to delve into the intriguing topic related to Crafting Your Sanctuary: A Guide to DIY Home Decor Islands. Let’s weave interesting information and offer fresh perspectives to the readers.
Table of Content
Crafting Your Sanctuary: A Guide to DIY Home Decor Islands

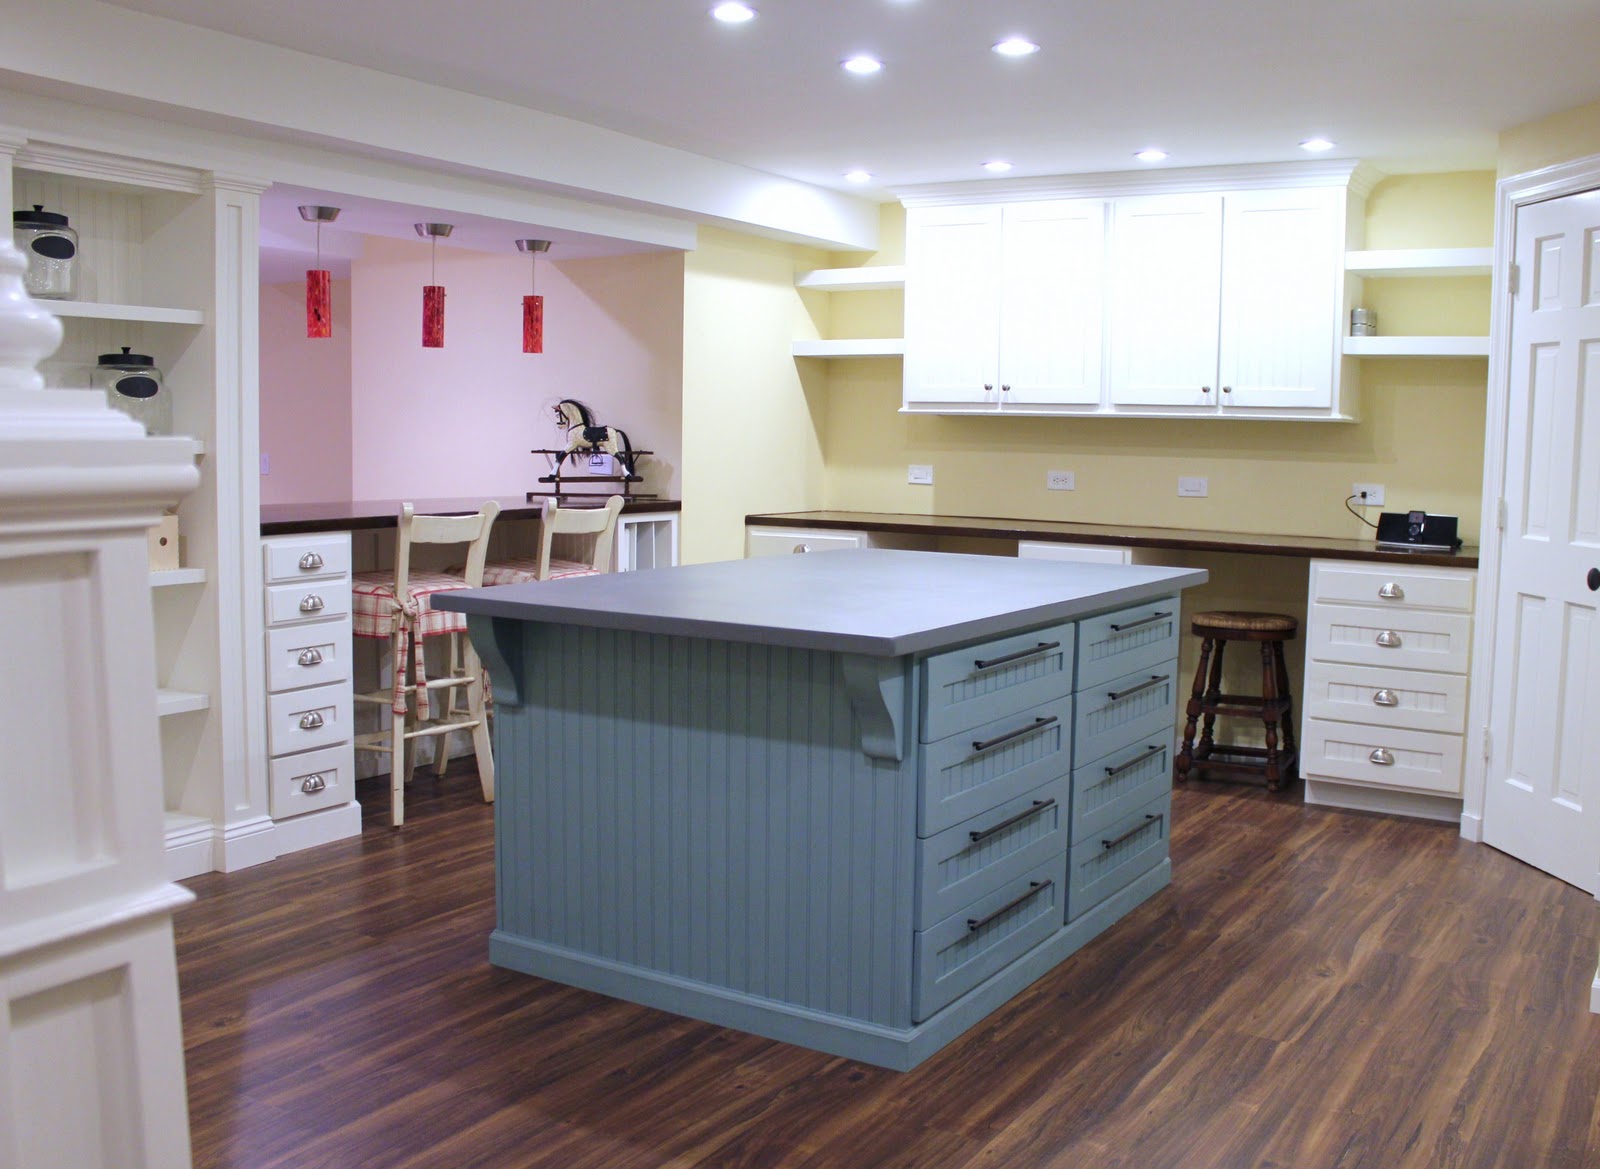
In the realm of interior design, the kitchen island stands as a versatile and often indispensable element. Beyond its practical functionality as a central hub for food preparation, dining, and social interaction, a kitchen island can serve as a canvas for personal expression and creative design. Embracing the DIY approach to crafting a kitchen island offers a unique opportunity to personalize the heart of your home, transforming it into a space that reflects your individual style and needs.
The Allure of DIY Kitchen Islands
The appeal of building a DIY kitchen island lies in the freedom it grants to create a truly bespoke piece that complements your existing décor and satisfies your specific requirements. Unlike mass-produced furniture, a DIY island offers the flexibility to customize dimensions, materials, and finishes, resulting in a unique and functional addition to your kitchen.
Advantages of a DIY Kitchen Island
- Cost-Effectiveness: Building your own kitchen island can significantly reduce costs compared to purchasing a pre-made one. This is especially beneficial if you are working with a tight budget.
- Customization: The ability to tailor the island’s dimensions, materials, and features to your exact needs and preferences is a major advantage. You can design an island that perfectly fits your kitchen layout, storage requirements, and aesthetic vision.
- Unique Style: A DIY island allows for the creation of a truly unique piece that reflects your personal style. You can incorporate salvaged materials, repurposed furniture, or experiment with different finishes to create a one-of-a-kind statement piece.
- Sense of Accomplishment: The process of building your own kitchen island is inherently rewarding. It fosters a sense of accomplishment and pride in crafting a functional and beautiful addition to your home.
Planning Your DIY Kitchen Island
The journey to building your dream DIY kitchen island begins with meticulous planning. A well-defined plan ensures a successful project, minimizing potential setbacks and maximizing the end result.
1. Define Your Needs and Design Goals:
- Functionality: Consider how you intend to use the island. Will it be primarily for food preparation, dining, or a combination of both? Do you need ample storage space, a breakfast bar, or a built-in sink?
- Style: Determine the overall aesthetic you wish to achieve. Do you prefer a modern, rustic, farmhouse, or contemporary look? Choose materials and finishes that complement your existing kitchen décor.
- Dimensions: Measure your kitchen space carefully to determine the ideal dimensions for your island. Ensure sufficient clearance for movement and comfortable use.
- Budget: Set a realistic budget for materials, tools, and potential professional help.
2. Select Materials and Finishes:
- Base Material: Common options include plywood, MDF (medium-density fiberboard), reclaimed wood, or even repurposed furniture.
- Countertop: Consider durability, style, and budget. Options range from butcher block and laminate to granite, quartz, and concrete.
- Storage Solutions: Decide on the type of storage you need. Drawers, cabinets, shelves, or a combination of these can maximize functionality.
- Finishes: Choose paint, stain, or other finishes to complement your kitchen style and personal preferences.
3. Sketch and Plan Your Design:
- Draw a Detailed Plan: Create a scaled drawing of your island, including dimensions, storage compartments, and countertop layout.
- Consider Building Techniques: Research and choose construction techniques that align with your skill level and available tools.
- Plan for Electrical and Plumbing: If you intend to incorporate electrical outlets, a sink, or other utilities, carefully plan their placement and wiring.
Construction Techniques for Your DIY Kitchen Island
- Building a Frame: A sturdy frame is essential for supporting the weight of the countertop and storage. Use 2x4s or 2x6s for the frame and secure them with screws or nails.
- Adding Storage: Construct drawers, cabinets, or shelves according to your design. Use plywood or MDF for these components and ensure they fit snugly within the frame.
- Attaching the Countertop: Secure the countertop to the frame using appropriate fasteners and adhesives. Ensure proper support and stability.
- Finishing Touches: Apply paint, stain, or other finishes to create the desired look. Consider adding hardware, lighting, or decorative elements to enhance the overall design.
Tips for a Successful DIY Kitchen Island Project
- Seek Professional Help When Needed: Don’t hesitate to enlist professional assistance for tasks that require specialized skills, such as electrical wiring or plumbing.
- Safety First: Always prioritize safety when working with tools and materials. Wear appropriate safety gear and follow safety guidelines.
- Take Your Time: Building a kitchen island is a process. Don’t rush the project; allow ample time for each step to ensure quality and accuracy.
- Embrace the Learning Process: DIY projects are an excellent opportunity to learn new skills. Research techniques, explore different materials, and enjoy the process of creation.
Frequently Asked Questions about DIY Kitchen Islands
1. What tools do I need to build a kitchen island?
Common tools include a circular saw, jigsaw, drill, measuring tape, level, clamps, and safety glasses. Specific tools may vary depending on the design and construction techniques.
2. How much does it cost to build a DIY kitchen island?
The cost can vary significantly depending on the chosen materials, size, and complexity of the project. It is generally more cost-effective than purchasing a pre-made island.
3. Can I build a kitchen island without prior carpentry experience?
While some basic woodworking skills are helpful, you can build a simple kitchen island even with limited experience. Start with a straightforward design and gradually increase complexity as you gain confidence.
4. How do I ensure my DIY kitchen island is sturdy and stable?
Use high-quality materials, secure joints with screws or nails, and reinforce the frame with additional support as needed. Consider professional advice for complex designs.
5. What are some creative ideas for DIY kitchen island designs?
Embrace your creativity! Incorporate salvaged materials, repurposed furniture, unique finishes, or even a built-in wine rack or bar area.
Conclusion: Embracing the DIY Kitchen Island Journey
Building a DIY kitchen island is a rewarding endeavor that allows you to create a personalized and functional centerpiece for your home. By carefully planning, selecting the right materials, and embracing the learning process, you can transform your kitchen into a space that reflects your unique style and needs. Whether you are a seasoned DIY enthusiast or a novice builder, the journey of crafting your own kitchen island offers a sense of accomplishment and pride, creating a space that truly feels like home.


Closure
Thus, we hope this article has provided valuable insights into Crafting Your Sanctuary: A Guide to DIY Home Decor Islands. We hope you find this article informative and beneficial. See you in our next article!